
Discover how to purify your skin with oil cleansing using natural oils. This step-by-step guide shares my personal routine for glowing, clear skin using the ancient method of oil cleansing. Suitable for all skin types. Purify Your Skin with Oil Cleansing: A Step-by-Step Guide.
H1: My Journey to Discovering Oil Cleansing
I used to believe that oils were bad for my skin. But one day, I stumbled upon oil cleansing, and it completely changed my skincare game. It’s a gentle, effective, and natural method to purify your skin, especially if you’re tired of harsh soaps. I gave it a try, and I never looked back. Now, it’s my go-to routine every night, and my skin feels fresh, soft, and clean.
H2: What Is Oil Cleansing Exactly?
Oil cleansing is a method of using natural oils to clean the skin by dissolving dirty oils, makeup, sunscreen, and sebum. It works using the “like dissolves like” principle, meaning clean oils attract and remove dirty ones. When I massage the oil into my skin, it pulls out the dirt from deep within my pores without drying it out. It’s especially great for people with sensitive or acne-prone skin.
H2: Benefits of Oil Cleansing for All Skin Types
Ever since I started using oil cleansing, I noticed so many benefits. My pores looked smaller, my face felt less dry, and those little breakouts started disappearing. Here are the top benefits I’ve experienced:
- Removes makeup gently without scrubbing
- Keeps skin balanced and moisturized
- Unclogs pores naturally
- Reduces acne and blackheads
- Leaves a soft, glowing finish
You don’t need fancy products—just the right natural oils.
H2: Choosing the Right Oils for Your Skin Type
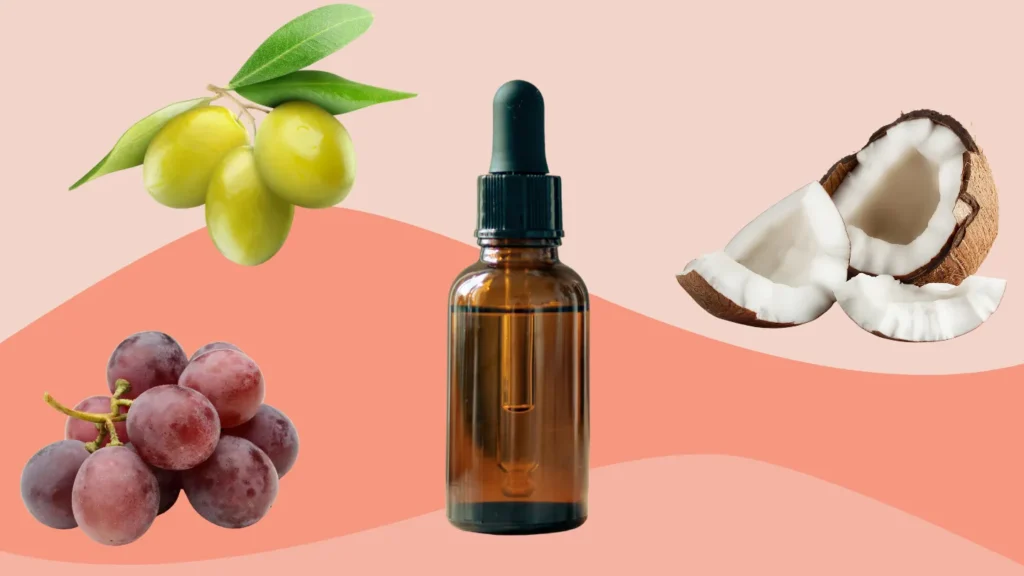
I learned that not all oils work for everyone. You have to pick oils based on your skin type. I started with jojoba oil but later mixed it with castor oil for deeper cleansing. Here’s a quick guide:
| Skin Type | Best Oils |
|---|---|
| Oily Skin | Castor Oil, Grapeseed Oil |
| Dry Skin | Avocado Oil, Sweet Almond Oil |
| Combo Skin | Jojoba Oil, Sunflower Oil |
| Sensitive Skin | Argan Oil, Apricot Kernel Oil |
Try mixing them to find the perfect balance for your skin.
H2: My Step-by-Step Oil Cleansing Routine
My nightly routine is simple and relaxing. It helps me unwind and gives my skin a glow I never had before. Here’s how I do my oil cleansing:
- Start with dry skin.
- Pour a small amount of oil blend into my palm.
- Massage the oil gently into my skin for about 1-2 minutes.
- I wet a soft cloth with warm water and laid it on my face to steam.
- Wipe away the oil gently.
- Repeat steaming once more, if needed.
No harsh rubbing—just love for my skin.
H3: When to Do Oil Cleansing
I usually do oil cleansing at night, before bed. It removes the day’s dirt, makeup, and sunscreen. It’s not necessary to do it in the morning unless your skin feels extra dry. If you’re new to this, try doing it 3-4 times a week and observe how your skin reacts. Over time, you’ll learn what works best for your routine and skin’s needs.
H2: Should You Moisturize After Oil Cleansing?
You might wonder, do I still need moisturizer after all that oil? Surprisingly, yes! After I wipe off the oil, I always apply a lightweight hydrating serum or a gentle moisturizer. This locks in hydration without clogging my pores. Sometimes, I even dab a bit of rosehip oil or squalane as a finishing touch. It makes my skin feel soft and protected while I sleep.
H2: Common Mistakes to Avoid in Oil Cleansing
In the beginning, I made some mistakes that made me doubt this method. Here are some oil cleansing mistakes to avoid:
- Using too much oil
- Not removing the oil completely
- Skipping the warm cloth step
- Using the wrong oils for your skin type
- Being inconsistent with the routine
Fixing these helped me get better results and finally achieve that glow.
H3: How Long Until You See Results?
I started seeing smoother skin within a week. But it took around three weeks to see major changes—fewer breakouts, a brighter tone, and a softer texture. Remember, your skin needs time to adjust. So don’t give up too early. Be patient and consistent. The best part? My skin didn’t feel tight or dry anymore, even during winter!
H2: Add-Ons for the Perfect Oil Cleansing Routine
To level up my oil cleansing routine, I like to add these extras sometimes:
- Facial massage tools like gua sha or jade rollers
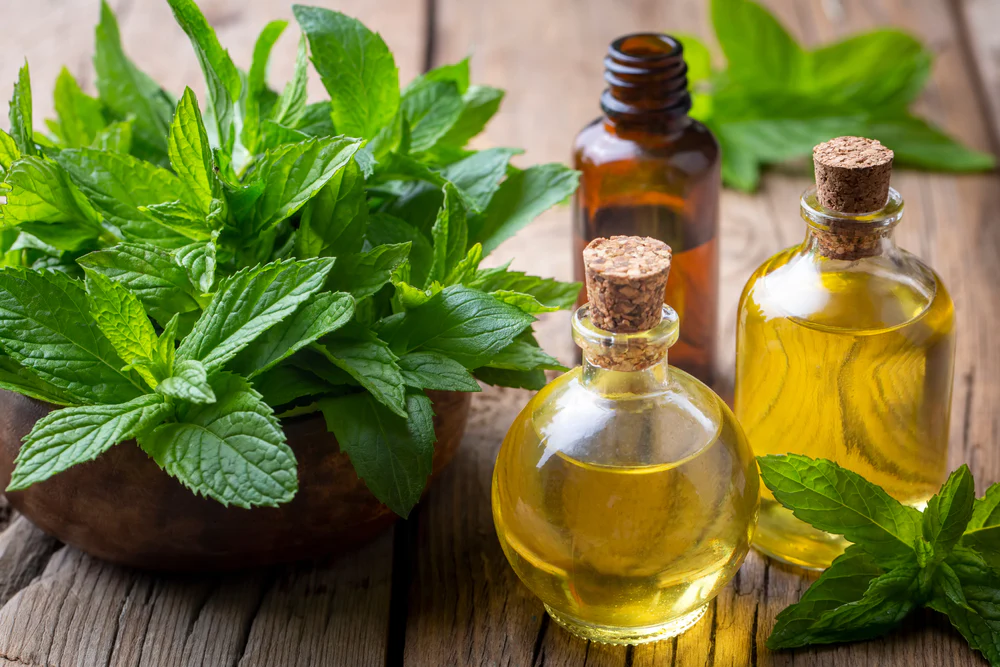
- A few drops of essential oils like tea tree (for acne) or lavender (for calming)
- Light exfoliation using a microfiber towel once a week
- Follow-up with a hydrating toner or mist
These little steps make a big difference and turn my cleansing into a self-care ritual.
H3: DIY Oil Blend Recipes You Can Try
Making my own cleansing oil felt empowering. Here are two blends I love:
For Oily/Acne-Prone Skin
- 1 tbsp Castor Oil
- 2 tbsp Grapeseed Oil
- 1 drop Tea Tree Oil
For Dry Skin
- 1 tbsp Sweet Almond Oil
- 1 tbsp Jojoba Oil
- 1 drop Lavender Oil
Mix in a clean glass bottle and shake before each use!
H2: Does Oil Cleansing Work for Acne?
This is a big yes for me. I had small pimples and blackheads, and I saw them reduce after consistent oil cleansing. It cleared out my clogged pores without drying or irritating my skin. Just be sure to use non-comedogenic oils and clean your washcloth after every use. Remember: acne needs gentle care, not harsh stripping.
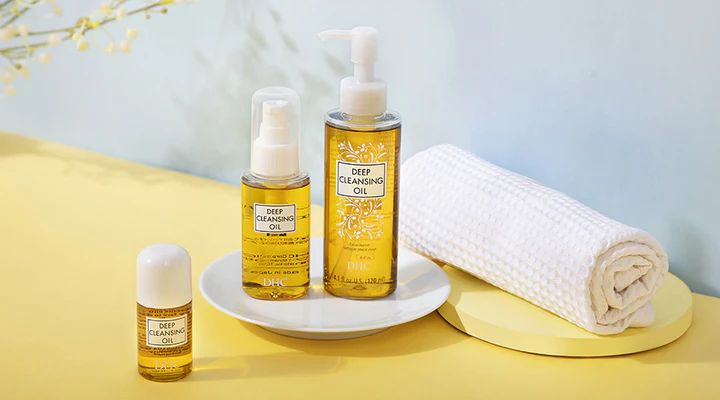
H2: Traveling with Your Cleansing Oil Routine
When I travel, I take my oil blend in a small glass bottle with a secure cap. I also carry reusable cleansing cloths and a backup moisturizer. I skip bulky face washes and just rely on my oil cleansing routine to keep my skin clean and calm. It’s travel-friendly and mess-free if you pack it right. Plus, it works anywhere!
H2: Frequently Asked Questions about Oil Cleansing
Q: Can I use coconut oil?
A: I don’t recommend it—coconut oil is comedogenic and may clog pores.
Q: Can I double cleanse with oil?
A: Yes! You can follow oil cleansing with a gentle foaming wash if your skin prefers it.
Q: Is oil cleansing safe for daily use?
A: Absolutely. I use it every night, and my skin loves it!
H2: My Final Thoughts on Oil Cleansing

Trying oil cleansing was one of the best decisions for my skin. It felt strange at first, but once I saw the glow and softness, I knew it was worth it. It’s a gentle, natural way to purify your skin, without using strong chemicals. Give it time, listen to your skin, and you’ll see how magical it is.
Key Takeaways
- Oil cleansing uses natural oils to remove dirt and balance the skin.
- It works for all skin types when using the right oils.
- Consistency is key—results come after regular use.
- Avoid common mistakes like overusing or skipping the warm cloth.
- DIY blends make the process fun, affordable, and personal.
Conclusion: Embrace the Glow of Oil Cleansing
Switching to oil cleansing was a game-changer for me. It taught me that clean skin doesn’t have to mean dry or tight—it can feel nourished, soft, and radiant. Using natural oils to purify my skin made my skincare routine feel like a calming ritual rather than a chore. If you’re looking for a simple, gentle way to care for your face, give oil cleansing a try. Your skin deserves this glow-up!


One thought on “Purify Your Skin with Oil Cleansing: A Step-by-Step Guide”